This page shows coding practices from the rubric, including single responsibility, data-driven design,
state management, multiplayer logic, collision systems, scoring, projectile mechanics, testing,
deployment, and software development lifecycle practices.
Learning Objective
Project Evidence Required
Assessment Method
Single Responsibility Principle
Section 1 explains how separate methods handle lasers, HUD, collisions, coins, and updates.
Review testing notes, deployed portfolio page, and project improvements.
🔄
Software Development Lifecycle Overview
This project connects to the software development lifecycle because it was not built all at once.
The game went through planning, coding, testing, debugging, integration, and improvement. Each new feature,
such as multiplayer mode, character selection, coins, scoring, localStorage, and leaderboard behavior,
had to be added, tested, and adjusted so it worked with the rest of the game.
The project is a JavaScript-based boss battle game where the player controls Ishan Jha and fights Peppa Pig
characters in different levels. The code handles movement, attacks, lasers, health, collision detection,
HUD updates, win and lose screens, localStorage, character selection, multiplayer mode, and a leaderboard system.
The game is organized around a level class called PeppaBattleLevelBase, which manages the main gameplay
systems for each fight. This makes the project more advanced than a simple one-screen game because it keeps track
of many systems at the same time, such as player health, enemy health, attack cooldowns, API calls, and visual updates.
This code shows how the game stores important information at the start of the level. If no custom player health
is provided, the game automatically uses 5. If no player name is given, it defaults to
"Ishan". This makes the code more flexible and reusable.
✅
Specific Coding Practices Requirements
1. Single Responsibility Principle
Requirement: Separate jobs into focused methods
The single responsibility principle means each method should have one main job. My project shows this because
the game separates lasers, collisions, coins, scoring, HUD updates, and level setup into different systems
instead of putting all of the logic into one huge method.
spawnLaserStraight() creates laser objects.
areColliding() checks if two hitboxes overlap.
updateHud() updates the player-facing message and stats.
saveScore(), loadLeaderboard(), and renderLeaderboard() handle leaderboard behavior.
Coin generation, floor barriers, and character selection are separated from the main battle explanation.
This proves single responsibility because this method only creates a laser object. It does not also calculate
the final score, update the leaderboard, or control character selection.
2. Data-Driven Design
Requirement: Use configuration objects, arrays, and saved data
Data-driven design means values in objects and arrays control how the game behaves. My project uses a
config object to set player health, cooldowns, laser speed, API base, player name, coin values,
and other level settings.
This proves data-driven design because the game changes based on configuration data, character data,
sprite data, and stored browser values instead of only using hard-coded behavior.
3. State Management
Requirement: Track changing game values
State management means tracking values that change while the game runs. My game stores and updates state
for the game mode, player health, Player 2 health, coin count, final score, leaderboard, battle ending,
selected characters, and active lasers.
Coins are a clear example of state changing during gameplay. When a coin is collected, the coin object changes,
the coin count increases, and the HUD updates.
This proves state management because the game stores important values and updates them when the player
moves, attacks, collects coins, takes damage, or finishes the level.
4. Control Structures
Requirement: Use conditionals and logical checks
Control structures are the if, else, and comparison checks that decide what the
program should do. My project uses control structures for multiplayer mode, collision checks, laser damage,
character loading, and keeping players inside the arena.
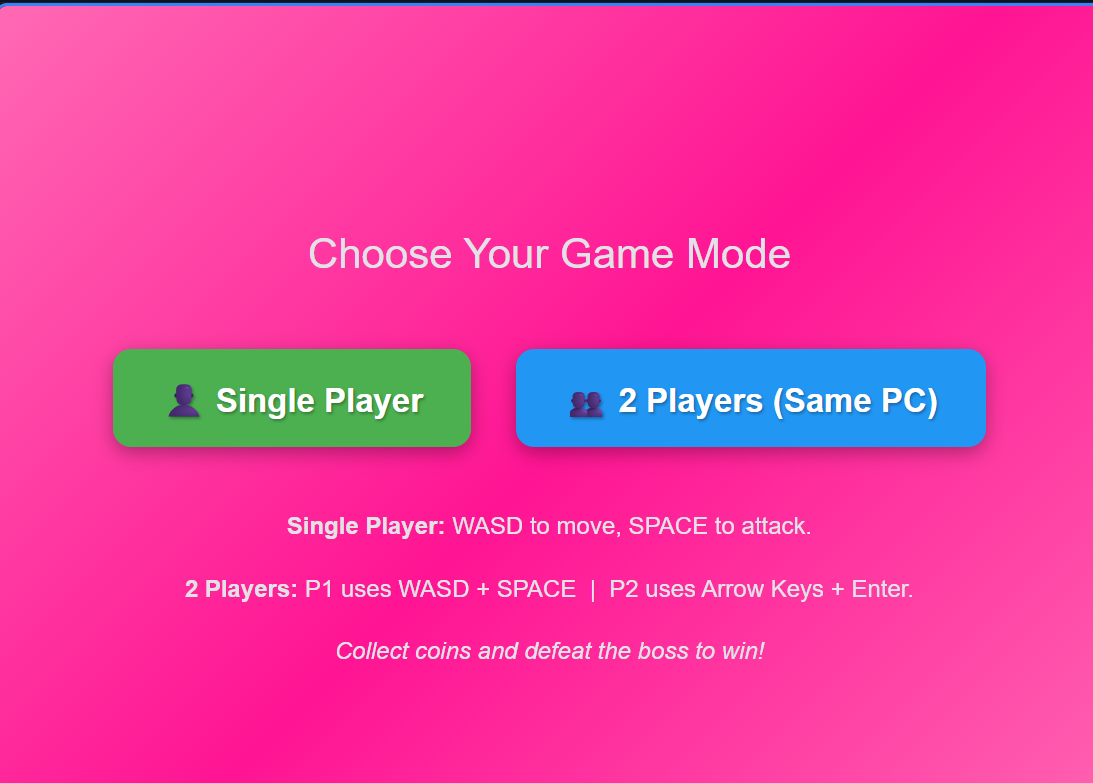
This logic changes the entire level depending on the game mode. In two-player mode, the game adds Player 2.
In single-player mode, the game adds the boss enemy.
This proves control structures because the game uses conditions to make decisions about mode, movement,
collisions, boundaries, and damage.
5. Input / Output
Requirement: Use controls, saved data, and visible feedback
Input is how the player gives information to the game, and output is how the game gives information back.
My project uses keyboard input, character selection input, browser storage, HUD messages, laser colors,
score updates, and leaderboard output.
Player 1 uses WASD to move and Space to fire.
Player 2 uses the arrow keys to move and Enter to fire.
localStorage saves character choices and the selected game mode.
updateHud() outputs messages like coin collection and laser hits.
This proves input/output because the game receives player actions and saved choices, then shows visible
feedback through the HUD, gameplay objects, score, and leaderboard.
6. Software Development Lifecycle
Requirement: Build, test, fix, integrate, deploy, and improve
The software development lifecycle is shown because the game was improved over multiple versions.
The project started with a boss battle structure, then added multiplayer mode, character selection,
coins, scoring, localStorage, laser hitboxes, and leaderboard behavior.
Planning: Decide the game theme, level structure, controls, and rubric goals.
Building: Code movement, lasers, collisions, HUD, coins, and scoring.
Testing: Test single-player mode, two-player mode, character selection, and score saving.
Debugging: Fix problems with hit detection, localStorage values, UI display, and game transitions.
Integration: Connect character selection, game mode, leaderboard, and battle levels together.
Deployment: Add the page to the portfolio so it can be reviewed and demonstrated.
Improvement: Add coins and final scoring so the game rewards survival and exploration.
This proves the SDLC requirement because the page shows the project as a complete development process,
not just a final code dump.
👥
Multiplayer Mode
2-Player Mode with Separate Controls
The updated code supports both singlePlayer and twoPlayer mode.
The mode can come from the level config, from localStorage, or default to single-player
if nothing was saved.
Player 1
Player 1 uses WASD to move and Space to fire a cyan laser.
Player 2
Player 2 uses the arrow keys to move and Enter to fire a green laser.
The level also creates different game objects depending on the mode. In twoPlayer mode,
it adds Player 2. In single-player mode, it adds the boss enemy.
The HUD changes too. In two-player mode, it becomes wider, shows Player 2 health,
and displays both control schemes.
🎭
Character Selection
Saving Player Character Choices
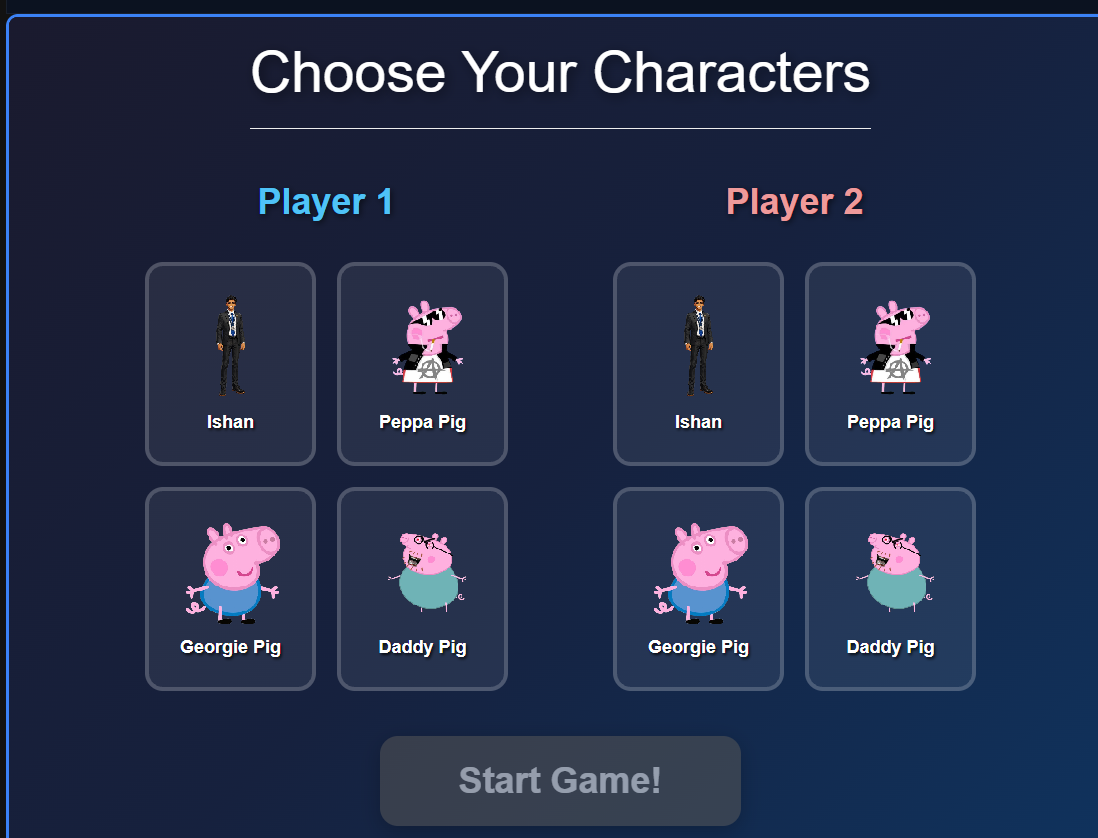
The game also supports character swapping. Before the battle starts, players can choose character images
and names. Those choices are saved so the battle level can load the correct player sprites.
Multiplayer character selection screen where Player 1 and Player 2 choose their characters before starting.
This is a strong example of data persistence because the game stores each player's character name
and image in the browser, then uses those values later during gameplay.
🎯
Collision System
Laser Hitboxes and Damage
The collision system checks whether laser hitboxes overlap with players or the boss. The updated laser objects
also store a source, so the game knows whether the laser came from Player 1, Player 2, or the boss.
if (this.gameMode === 'twoPlayer') {
if (L.source === 'player1' && player2) {
// Player 1 laser can hit Player 2this.player2Health = Math.max(0, this.player2Health - 1);
} else if (L.source === 'player2' && player) {
// Player 2 laser can hit Player 1this.playerHealth = Math.max(0, this.playerHealth - 1);
}
}
In two-player mode, Player 1 and Player 2 can damage each other with lasers.
The game uses cooldown timers like lastPlayerHitAt and lastPlayer2HitAt
so damage does not happen too quickly.
The floor barrier logic keeps players and bosses inside the visible arena. This prevents characters from
floating too high, falling out of bounds, or leaving the playable area.
🪙
Coins and Scoring
Coin Generation and Collection
The updated code adds collectible coins. Coins spawn randomly inside the playable arena,
avoid spawning too close to the player or enemy, and increase the final score when collected.
The final score combines remaining health with the coin bonus. After calculating it,
the game saves the score, reloads the leaderboard, and re-renders the leaderboard on the HUD.
Improvement from the original version:
The game now rewards exploration and survival instead of only counting boss defeat.
Coins make the arena more interactive.
One of the most specific gameplay systems in the code is the laser system. When the player attacks,
the game creates a new laser object with x and y position, velocity, type, and lifetime.
The projectile actually stores its own position and speed values and updates over time.
This collision code checks whether a player laser overlaps the boss hitbox. If it does,
the boss takes damage and the laser is removed. The updated version also uses laser sources
so Player 1 lasers can be cyan, Player 2 lasers can be green, and boss lasers can be red.
This makes the gameplay easier to understand visually.